
Epoxy coating is one of the best things on the market. But before you start getting all hyped up about laying down that slick finish, there’s something you should ask yourself, is your floor really ready for epoxy coating? Most homeowners skip this crucial step, leading to poor adhesion, bubbling, or peeling in the future.
This article will guide you through what you need to examine and prepare before using epoxy so that your floor project can be durable for years.
Check the Floor’s Moisture Level
Even small levels of retained water vapor can cause the coating to bubble or lift. Before you apply epoxy, test the moisture level in your floor. You can attempt a simple plastic sheet test by taping down a piece of square plastic over the surface and letting it sit for 24 hours. If there is condensation, your floor is too wet.
Then, in that case, repair the moisture problem first or use a primer for epoxy that’s designed to be used on slightly wet surfaces. If your floor is fresh concrete, give it a minimum of 28 days to harden completely.
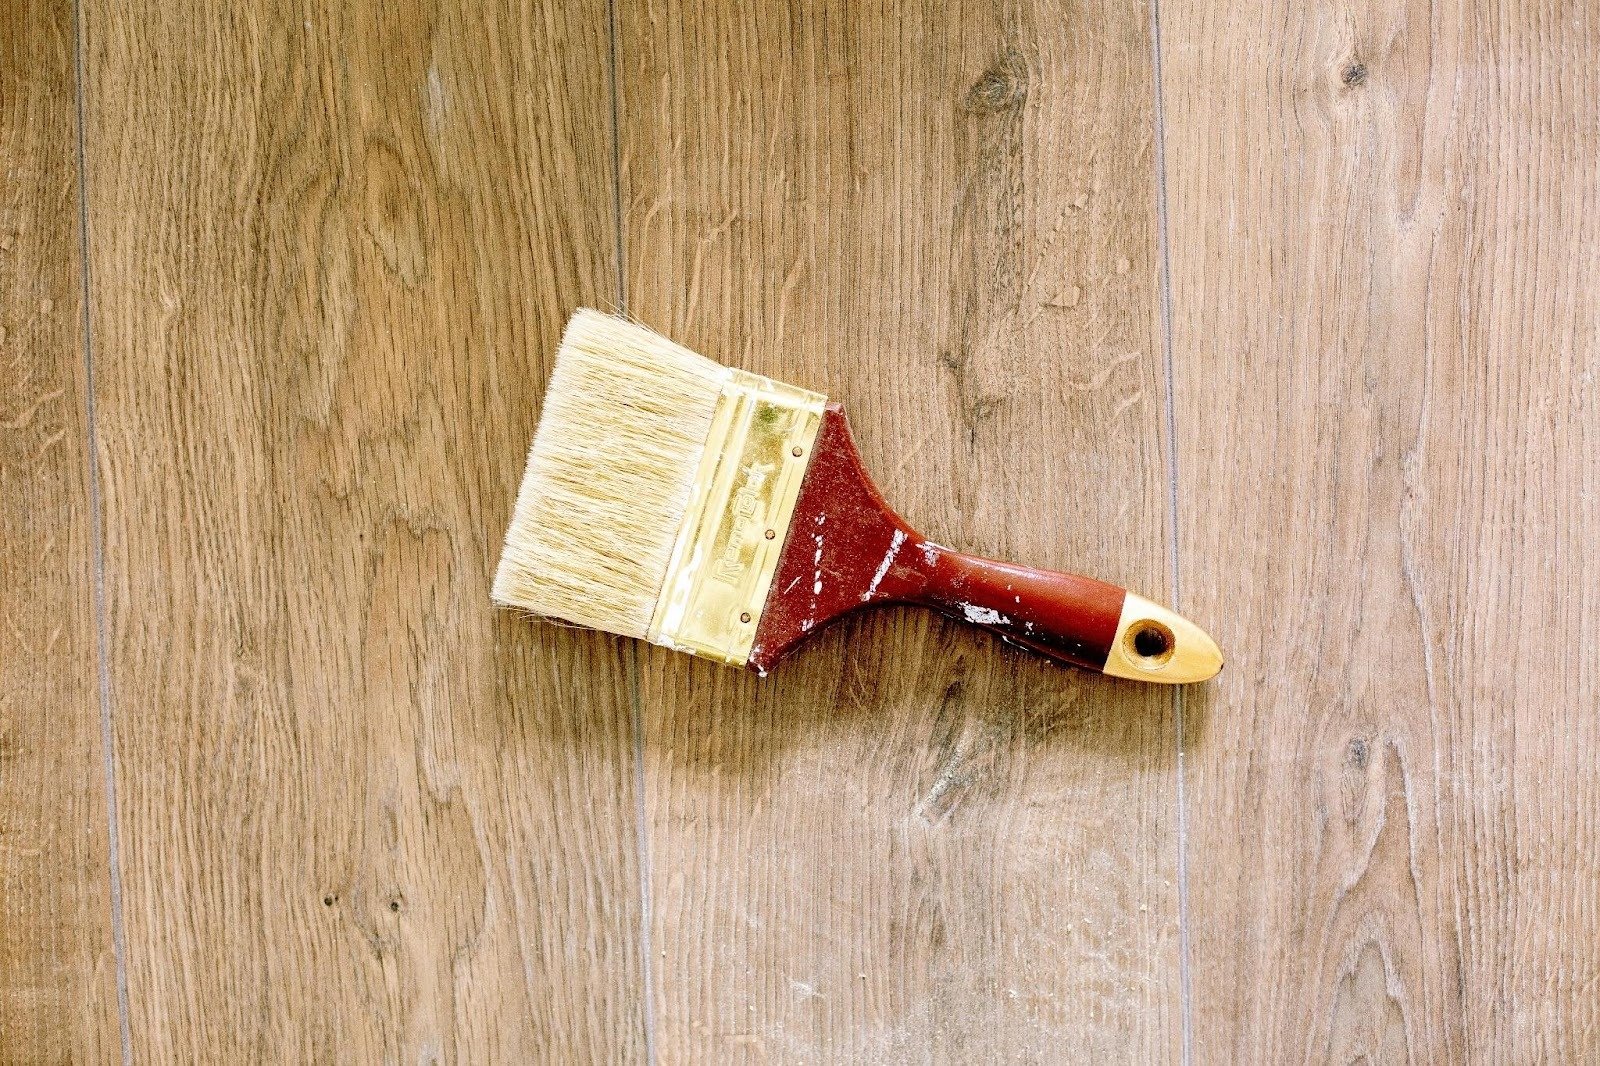
Check for Cracks, Chips, and Stains
Circumambulate and examine closely. Small cracks can be epoxied over with epoxy filler or patching compound, but bigger ones might need professional repair. Degrease and clean oil-stained areas with an industrial solvent before coating.
Your goal is to produce a good, smooth surface. Any imperfection will glow through the epoxy finish, so it’s well worth taking your time getting everything correct before coating it.
Ensure the Floor Is Dust-Free and Clean
Dirt and dust do not have to be in large amounts, but they’re one of the biggest reasons for epoxy failure. After you’ve prepped and repaired your floor, vacuum it thoroughly. Wipe it clean with a damp mop to sweep out any remaining debris.
If you are in a dusty environment, wait a few hours and try again before using epoxy. You would like the surface clean, since small particles will destroy adhesion.
Use the Right Primer Before Coating
Before applying your epoxy, never skip the priming stage. The right epoxy primer paint creates a very good bond between the coating and the floor, thus resulting in stronger adhesion as well as longer life.
Primers are especially effective on older or more porous concrete surfaces. They ensure even bonding of the epoxy coat and prevent future issues.
Consider Sustainability
For a green upgrade, choose water-based epoxy systems. They release fewer volatile organic compounds (VOCs) into the air than solvent-based ones. Additionally, by prepping the surface right, you eliminate the necessity for numerous reapplications, which minimizes waste and saves materials.
You can even look for epoxy brands that use recyclable material or have low environmental impact.
Wrapping Up
After all repairs, when the floor is dry and you’ve applied the primer, do a final, quick walk-through. Touch the surface, it will be dry, clean, and a little rough. No grease, no dust, no water. It’s only then that your floor is really ready for epoxy coating. If you do the prep of testing, washing, and coating your concrete correctly, you’ll end up with a smooth, glossy, and durable floor that will last forever.